Building Your First PC: Complete Beginner's Guide
Planning Your Build: Questions to Ask First
Before you buy a single component, take some time to answer a few important questions. Getting this right upfront saves a lot of time, money, and frustration later on.
What will you use it for?
Your primary use case drives almost every decision. Gaming puts more weight on the GPU. Video editing and 3D rendering benefit from more CPU cores and fast storage. A home office machine can get away with modest specs and even integrated graphics. Know what you need before you start pricing things up.
What is your budget?
Set a realistic total and break it down roughly by component. For gaming, roughly 30 to 40 percent of your budget typically goes on the GPU. For workstation tasks, shift more toward the CPU and RAM. Remember to factor in a monitor, keyboard, mouse, and Windows licence if you do not already own them.
What do you already own?
Check whether your current monitor supports the resolution and refresh rate you want. Think about how many USB ports you need, whether you require a Wi-Fi card, and which peripherals you are reusing.
How much space do you have?
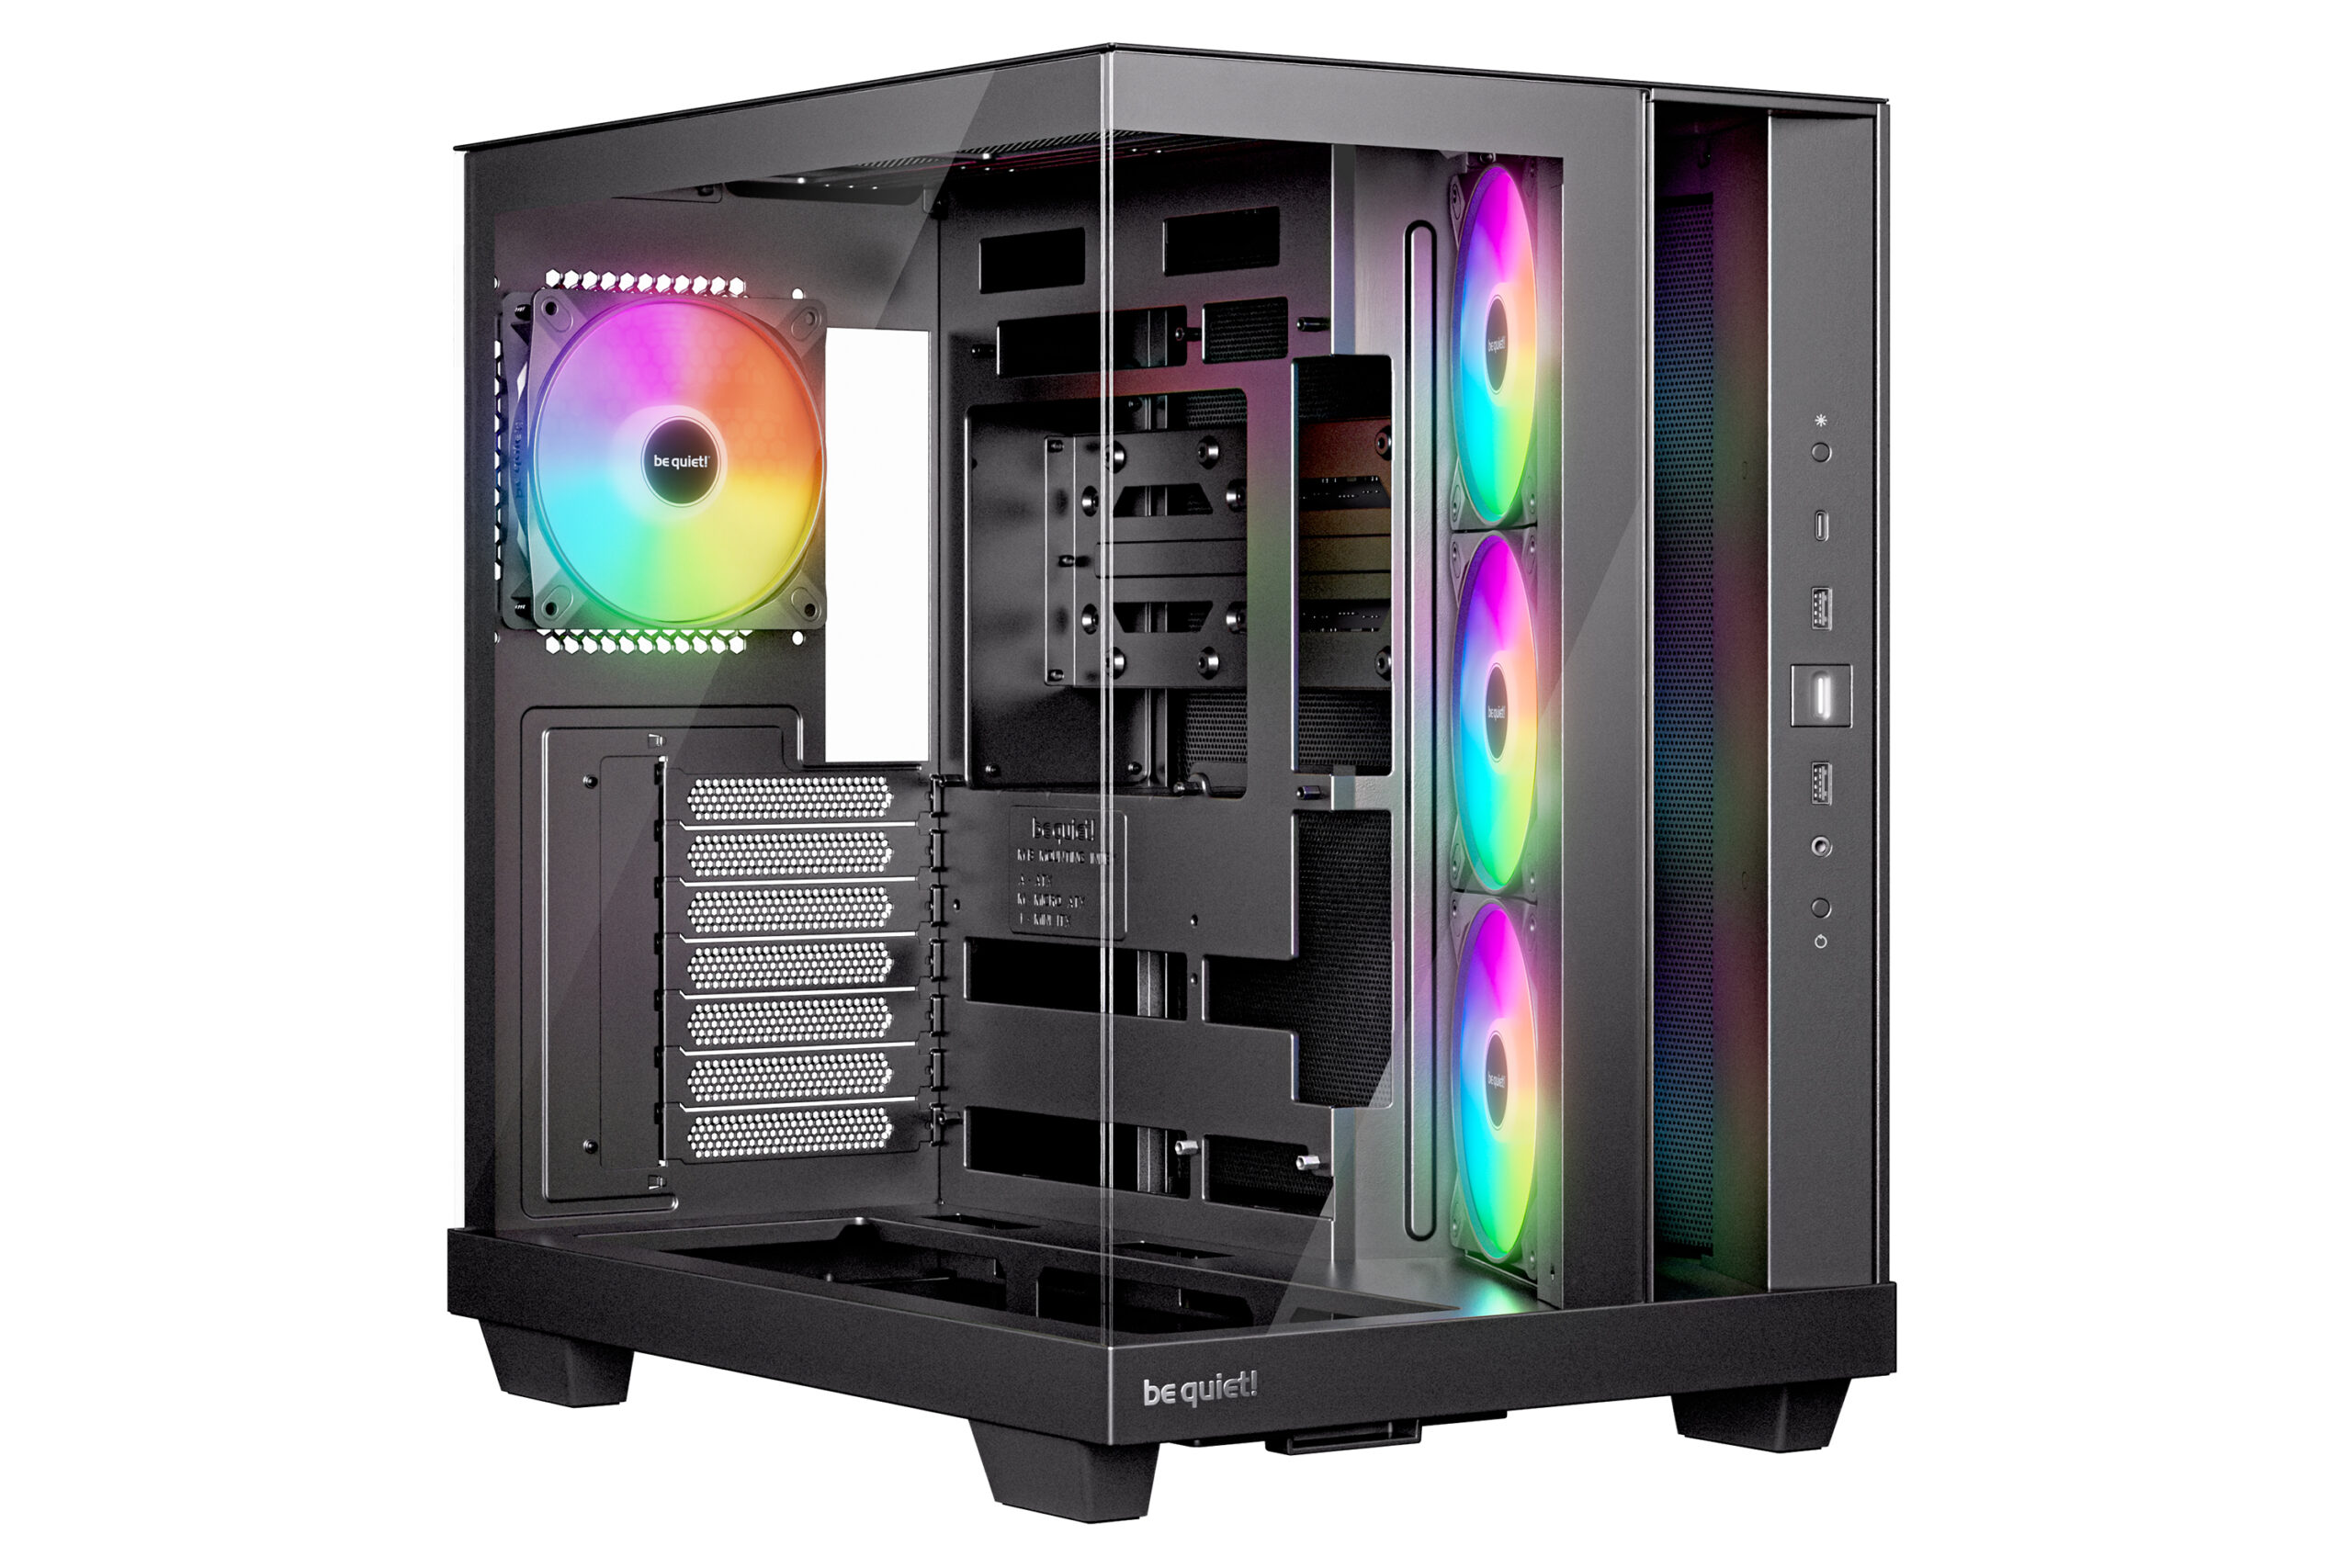
A compact mini-ITX case fits neatly on a desk but limits what you can fit inside. A full tower gives you room for large graphics cards, extra drives, and big radiators, but it takes up more space. If noise matters to you, look at cases with sound-dampened panels and quiet fans. Be quiet! builds their cases around exactly this.
How long do you want this build to last?
If you plan to upgrade the CPU in two or three years, choose a platform with a confirmed multi-generation roadmap. If you want to add more storage later, make sure the motherboard has spare M.2 slots. Think ahead and leave yourself options.
Write down your answers before you start shopping. A simple list of your goals, budget, and constraints will make component selection much more straightforward.
AMD vs Intel: Choosing Your Platform
Choosing between AMD and Intel is one of the first real decisions you will make. As of 2026, the two main platforms are AMD AM5 (Ryzen 7000, 8000, and 9000 series) and Intel LGA1851 (Arrow Lake and beyond). Here is what actually matters.
Performance
AMD Ryzen 7000-series processors offer excellent multi-core performance and strong power efficiency. Intel’s latest hybrid-core designs (mixing Performance and Efficiency cores) tend to have a slight edge in raw single-threaded gaming FPS at the very top end, but AMD typically gives you more cores and threads for your money at mid-range price points.
Upgrade path and socket longevity
AMD has committed to AM5 support through at least 2027, covering Ryzen 7000, 8000, and 9000 series chips. Intel’s LGA1851 is expected to support at least one or two future generations. AMD’s track record here is reassuring. AM4 lasted over four years, which is why many builders lean toward AM5 for long-term value.
Memory: DDR5 vs DDR4
Both AM5 and LGA1851 use DDR5 only. If you are on a tight budget, Intel’s older LGA1700 platform (12th and 13th Gen) still supports DDR4, which costs less. AMD’s AM4 also supports DDR4 but is an older platform with a limited future. DDR5 kits at 6000 to 7200 MHz are faster and more future-proof. DDR4 at 3200 to 3600 MHz is cheaper and still performs well today. The choice usually comes down to budget.
PCIe support
Both AM5 and LGA1851 offer PCIe 5.0 lanes for the GPU and NVMe storage. This means you will not be bottlenecked by an older interface when you upgrade to next-generation components. Older Intel boards based on Z790 or B760 generally provide PCIe 4.0 for the GPU slot.
Other features
Most Intel CPUs include integrated graphics, which is useful during a build if you do not have a discrete GPU yet. Standard AMD Ryzen processors (non-G series) do not have an iGPU, so you must have a dedicated graphics card. AMD APUs like the Ryzen 7600G include Vega-based integrated graphics for those who need it. Intel also has Quick Sync, which is useful for video encoding tasks.
For high-end builds in 2026, AM5 is generally the safer long-term choice thanks to its confirmed upgrade path and strong multi-threaded performance. LGA1851 is a solid alternative if you prefer Intel. LGA1700 with DDR4 remains a reasonable budget option, though it is nearing the end of its life.
Component Selection Guide
Here is a straightforward breakdown of each component category, what to look for, and where be quiet! fits in.
CPU and Motherboard
Choose a CPU that matches your workload and budget. Entry-level builds work well with something like an AMD Ryzen 5 7600X or Intel Core i5-12400F. Mid-range builds benefit from a Ryzen 7 7700X or Intel i7-13700K. For high-end and 4K workloads, look at the Ryzen 9 7950X3D or Intel Core i9-14900K.
Your motherboard must match your CPU socket. For AM5, choose a B650 or X670 chipset board. For LGA1851, the Z890 chipset is the current standard. For LGA1700 budget builds, B660 or Z790 boards cover DDR4 and DDR5 options respectively. When picking a board, pay attention to the number of M.2 slots, RAM capacity, PCIe lane configuration, USB-C front-panel headers, and the quality of the power delivery (VRM) if you plan to overclock.
Always cross-check CPU compatibility. Be quiet! also provides a CPU Cooler Check tool that verifies cooler fitment and socket clearance, which is genuinely useful when finalising your parts list.
Memory (RAM)
16 GB is the minimum for a modern build. 32 GB is a better starting point if you multitask heavily or do any content creation. 64 GB and above is for professional workstations. Always install RAM in pairs for dual-channel operation. Leave at least one pair of slots free if you think you will want to upgrade later. Aim for DDR5-6000 or faster on AM5 and LGA1851 platforms, enabling XMP or EXPO profiles in the BIOS to run at rated speeds.
Storage
Use an NVMe M.2 SSD as your primary drive. A 1 TB PCIe 4.0 SSD is a solid starting point for most builds. For bulk storage, a secondary 2 TB SATA SSD or a 3.5-inch HDD keeps costs down while adding capacity. Make sure your motherboard has enough M.2 slots and SATA ports for your planned storage setup.
Graphics Card (GPU)
For entry-level 1080p gaming, an NVIDIA RTX 4060 (8 GB) or AMD Radeon RX 7600 (8 GB) covers you well. Mid-range 1440p builds work well with an RTX 4070 Ti or RX 7800 XT. For 4K or high-refresh demanding titles, the RTX 4080 or RTX 4090 are the options, though they come with a serious price tag.
Check GPU length against your case’s maximum clearance. High-end GPUs can be 320 mm or longer. Also check power connector requirements. The RTX 4090 uses a 16-pin 12VHPWR connector and draws around 450 W. Lower-end cards may need only a single 8-pin connector. If you want to understand the safe way to handle PCIe power cabling, our guide on daisy-chain PCIe power cables is worth reading before you connect anything.
Power Supply (PSU)
Add up the TDP of your main components and add 20 to 30 percent headroom. A 650 W unit covers an entry build with an RTX 4060 and a mid-range CPU. An 850 W unit handles most mid-range builds. A 1000 W or 1200 W unit is appropriate for high-end builds with an RTX 4090 or dual-GPU configurations.
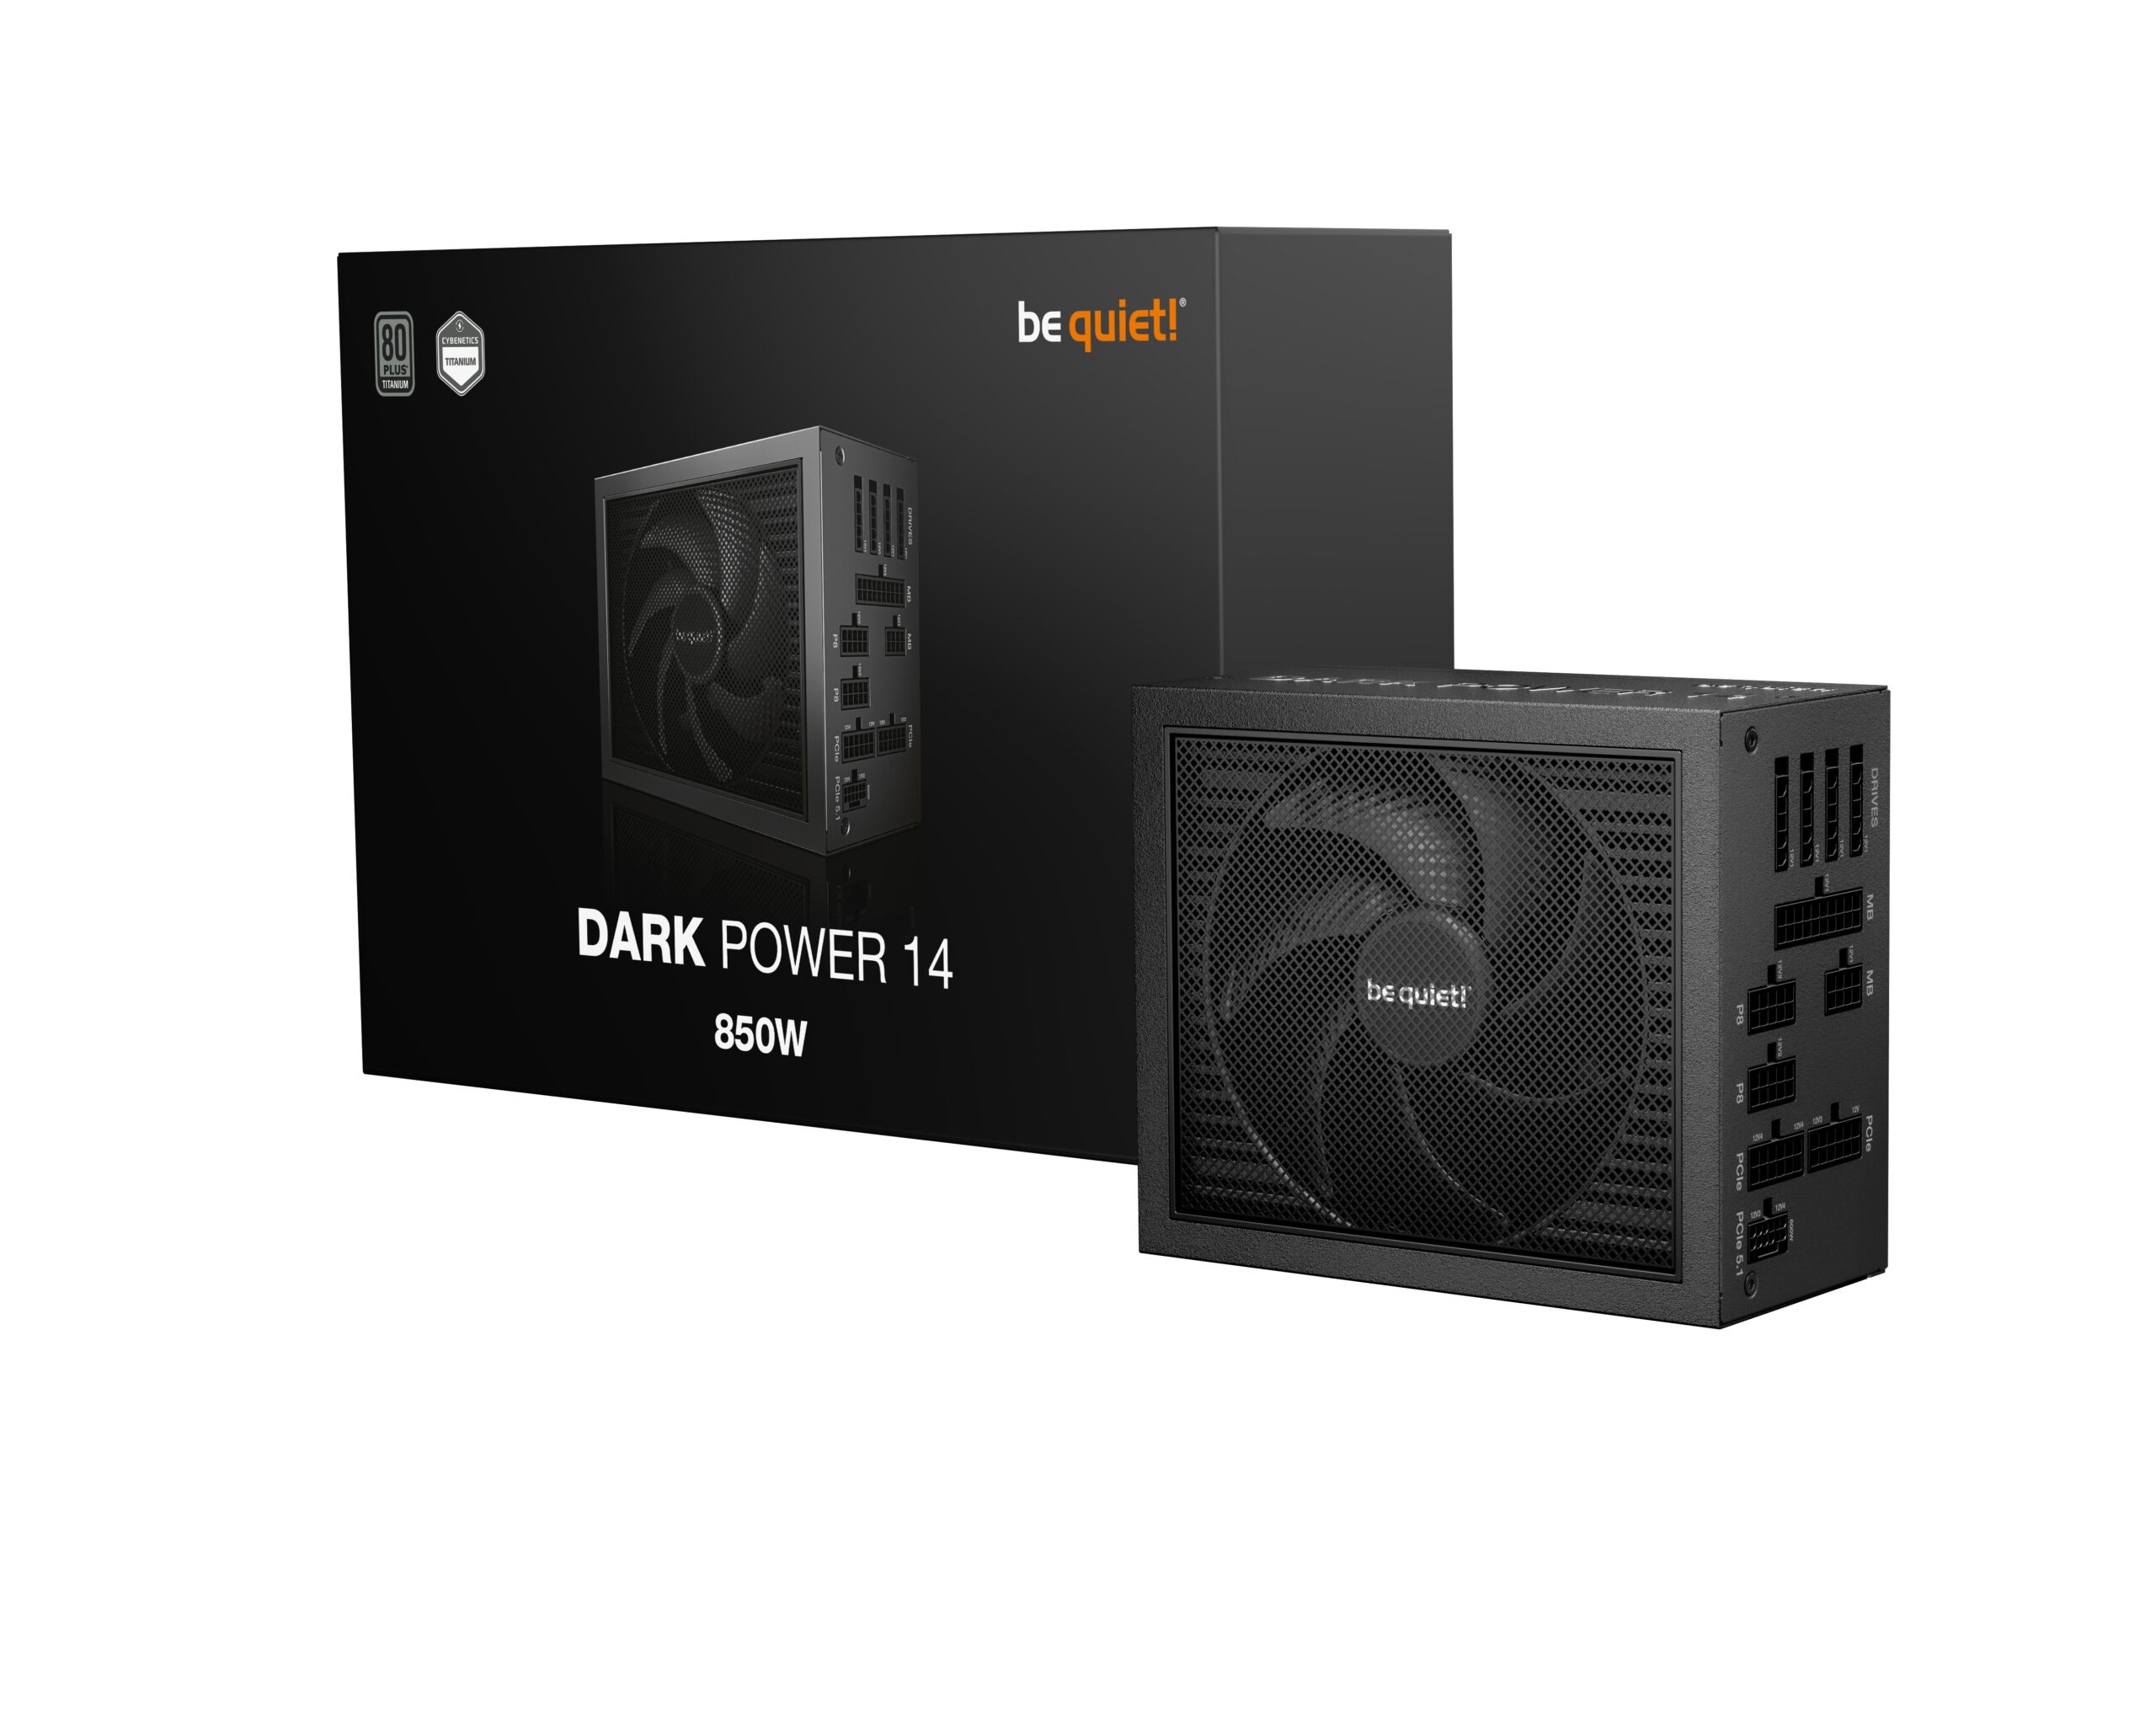
Look for an 80 PLUS Gold or Platinum efficiency rating. Fully modular designs make cable management much easier. Be quiet! offers some excellent options here. The Pure Power 13 series is ATX 3.1 compliant, Gold rated, fully modular, and available from 550 W to 1200 W. It supports up to five PCIe power connectors and runs semi-passively at light loads, meaning the fan does not spin until it needs to. The Straight Power 12 and Dark Power 13 step up in efficiency and noise performance for demanding builds. For a first build, the Pure Power 13 at 650 W to 850 W is hard to argue with.
Case and Cooling
Your case affects airflow, noise, and how straightforward the build process will be. Be quiet! designs their cases specifically around noise reduction.
The Dark Base 700 is a strong mid-tower choice. It comes with two 140 mm Silent Wings 3 PWM fans, a four-step dual-rail fan controller, and space for radiators up to 360 mm. The Dark Base Pro 901 is a larger option for extreme builds, with three Silent Wings 4 fans included and interchangeable top panels that let you switch between maximum airflow and maximum silence.
For CPU cooling, the Dark Rock Pro 5 is one of the best air coolers available. Seven copper heatpipes, dual silent fans, and a switch between quiet and performance modes make it suitable for overclocked high-end CPUs. If you prefer a liquid cooler, the Pure Loop 3 AIO series comes in 240, 280, and 360 mm radiator sizes. It includes a refill port for topping up coolant, braided tubing, and ARGB fans on the LX variant.
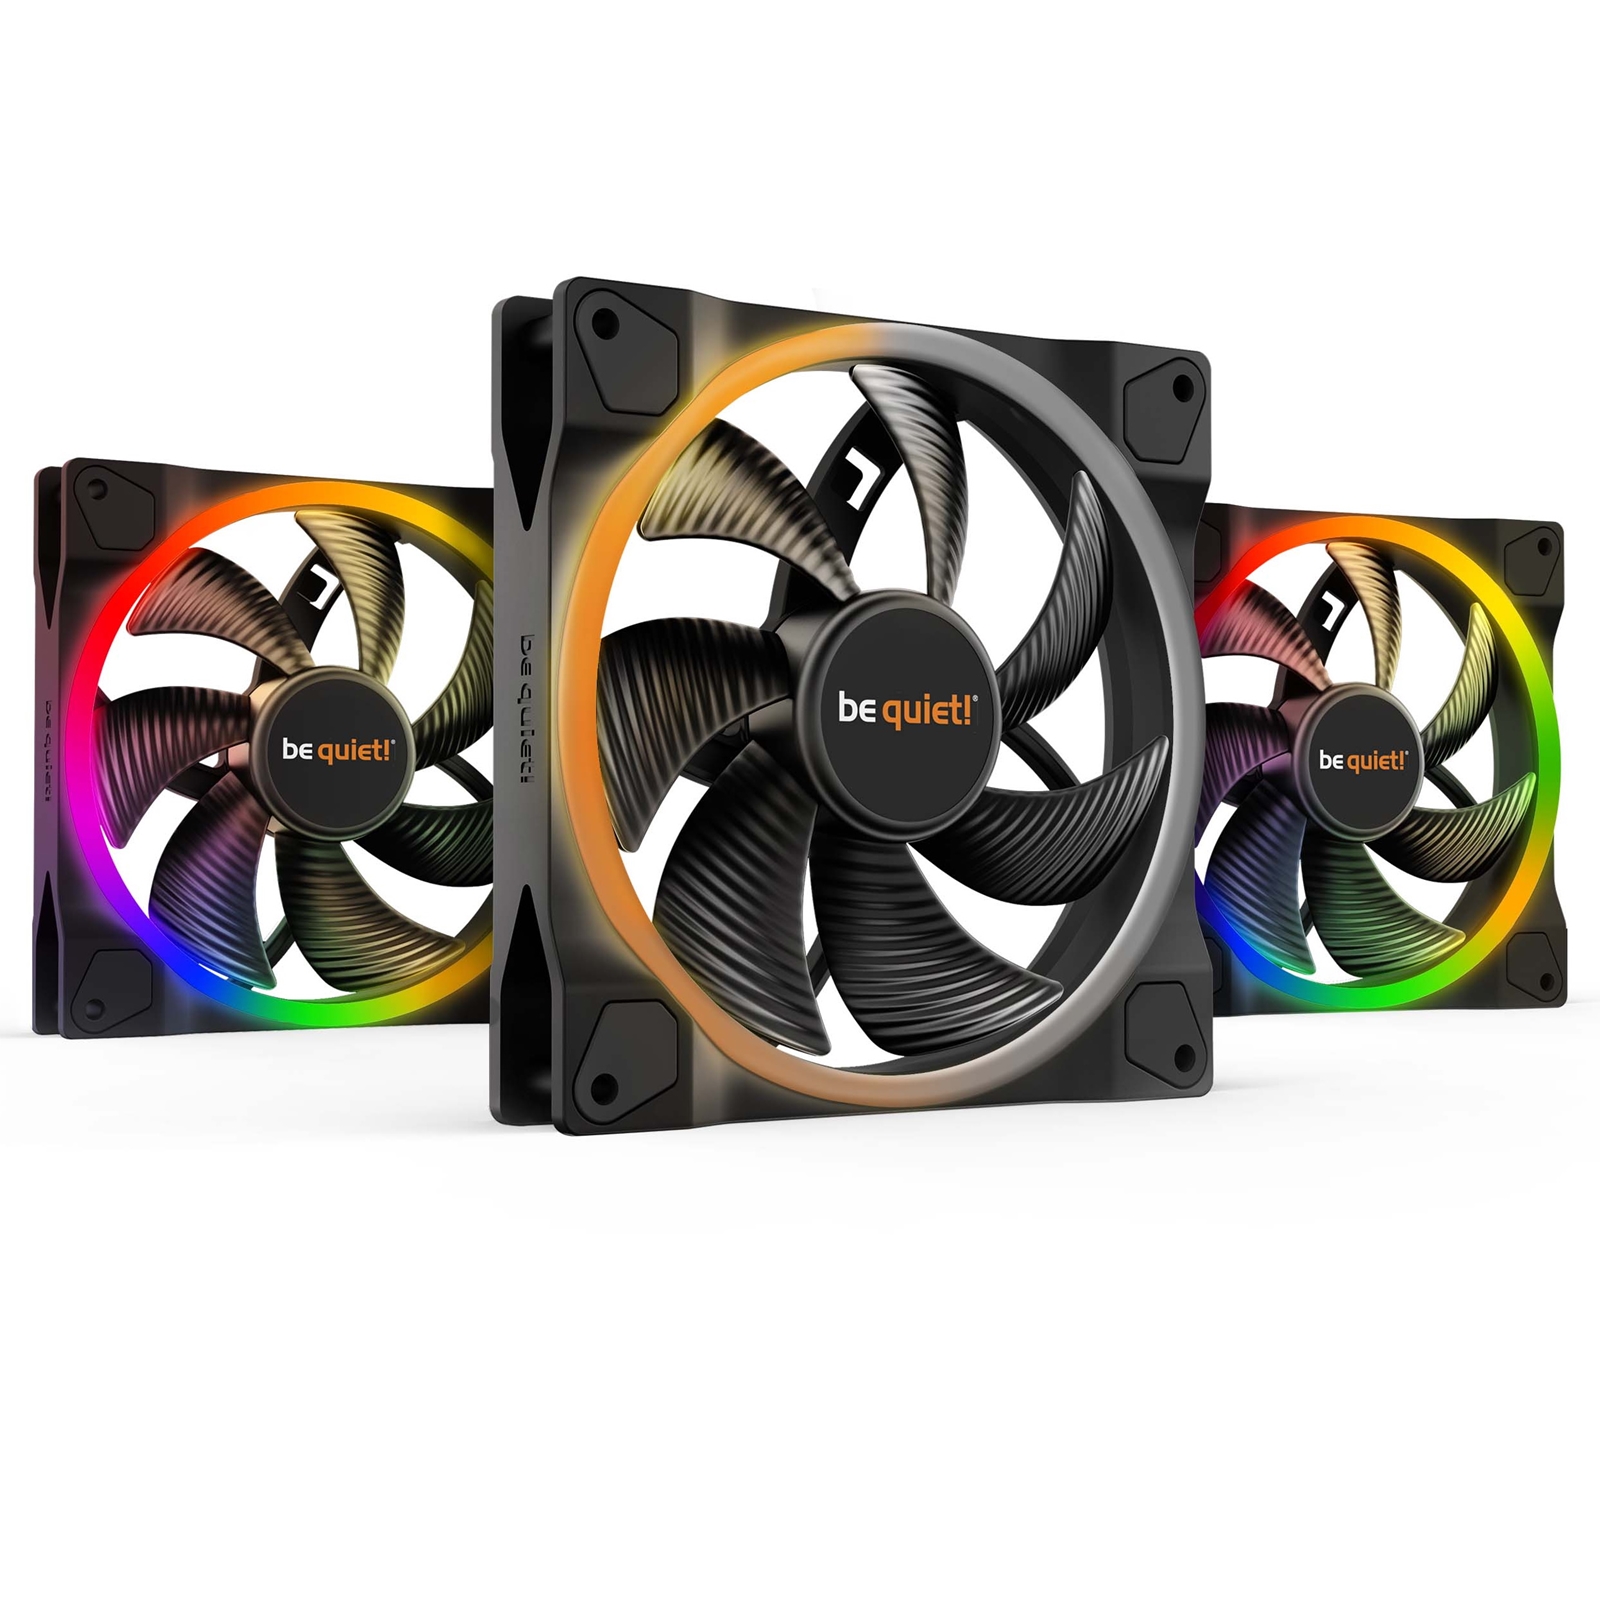
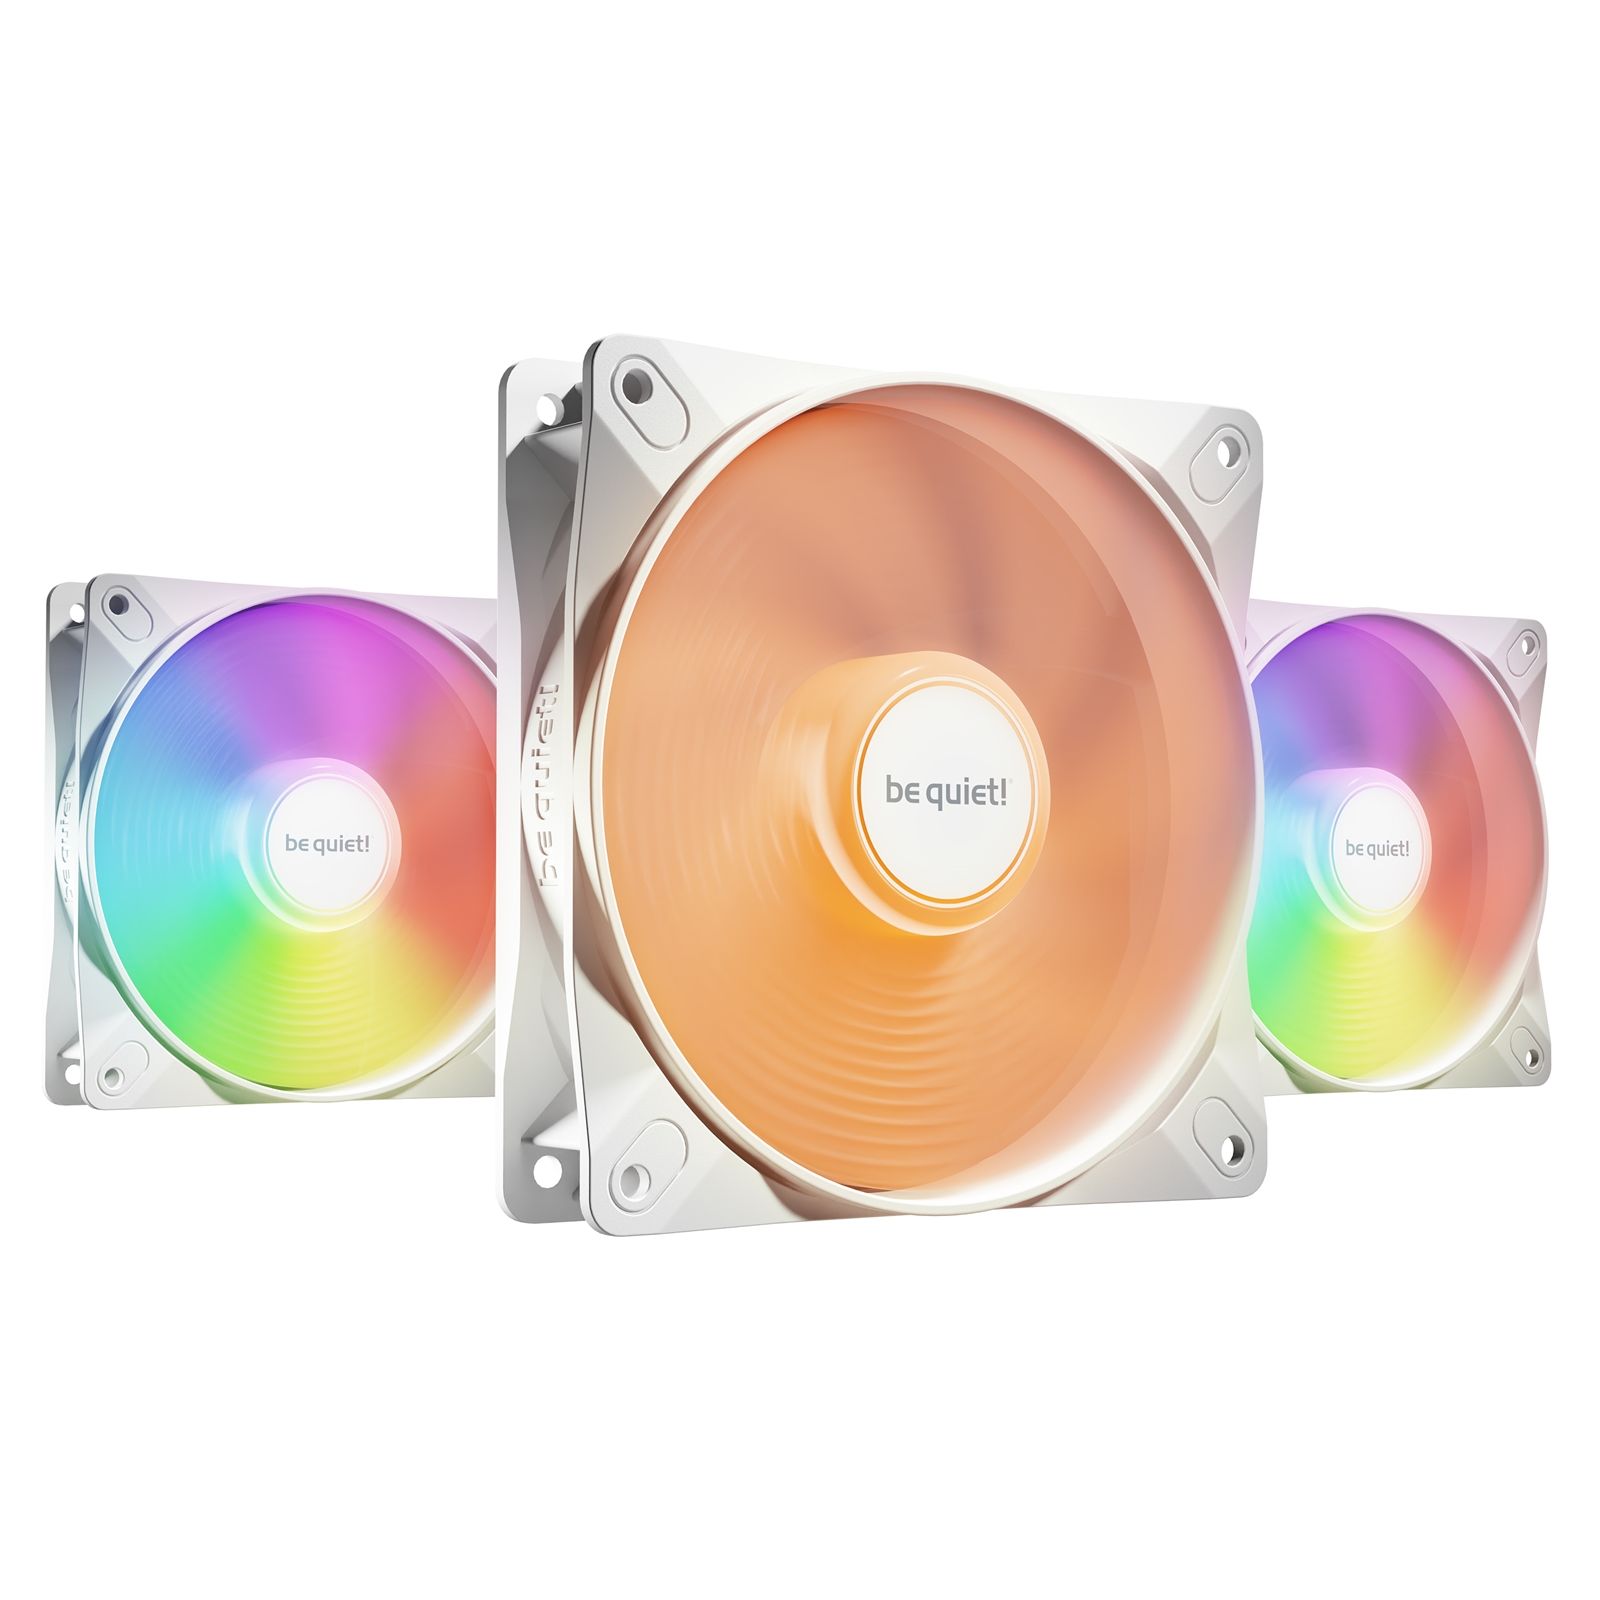
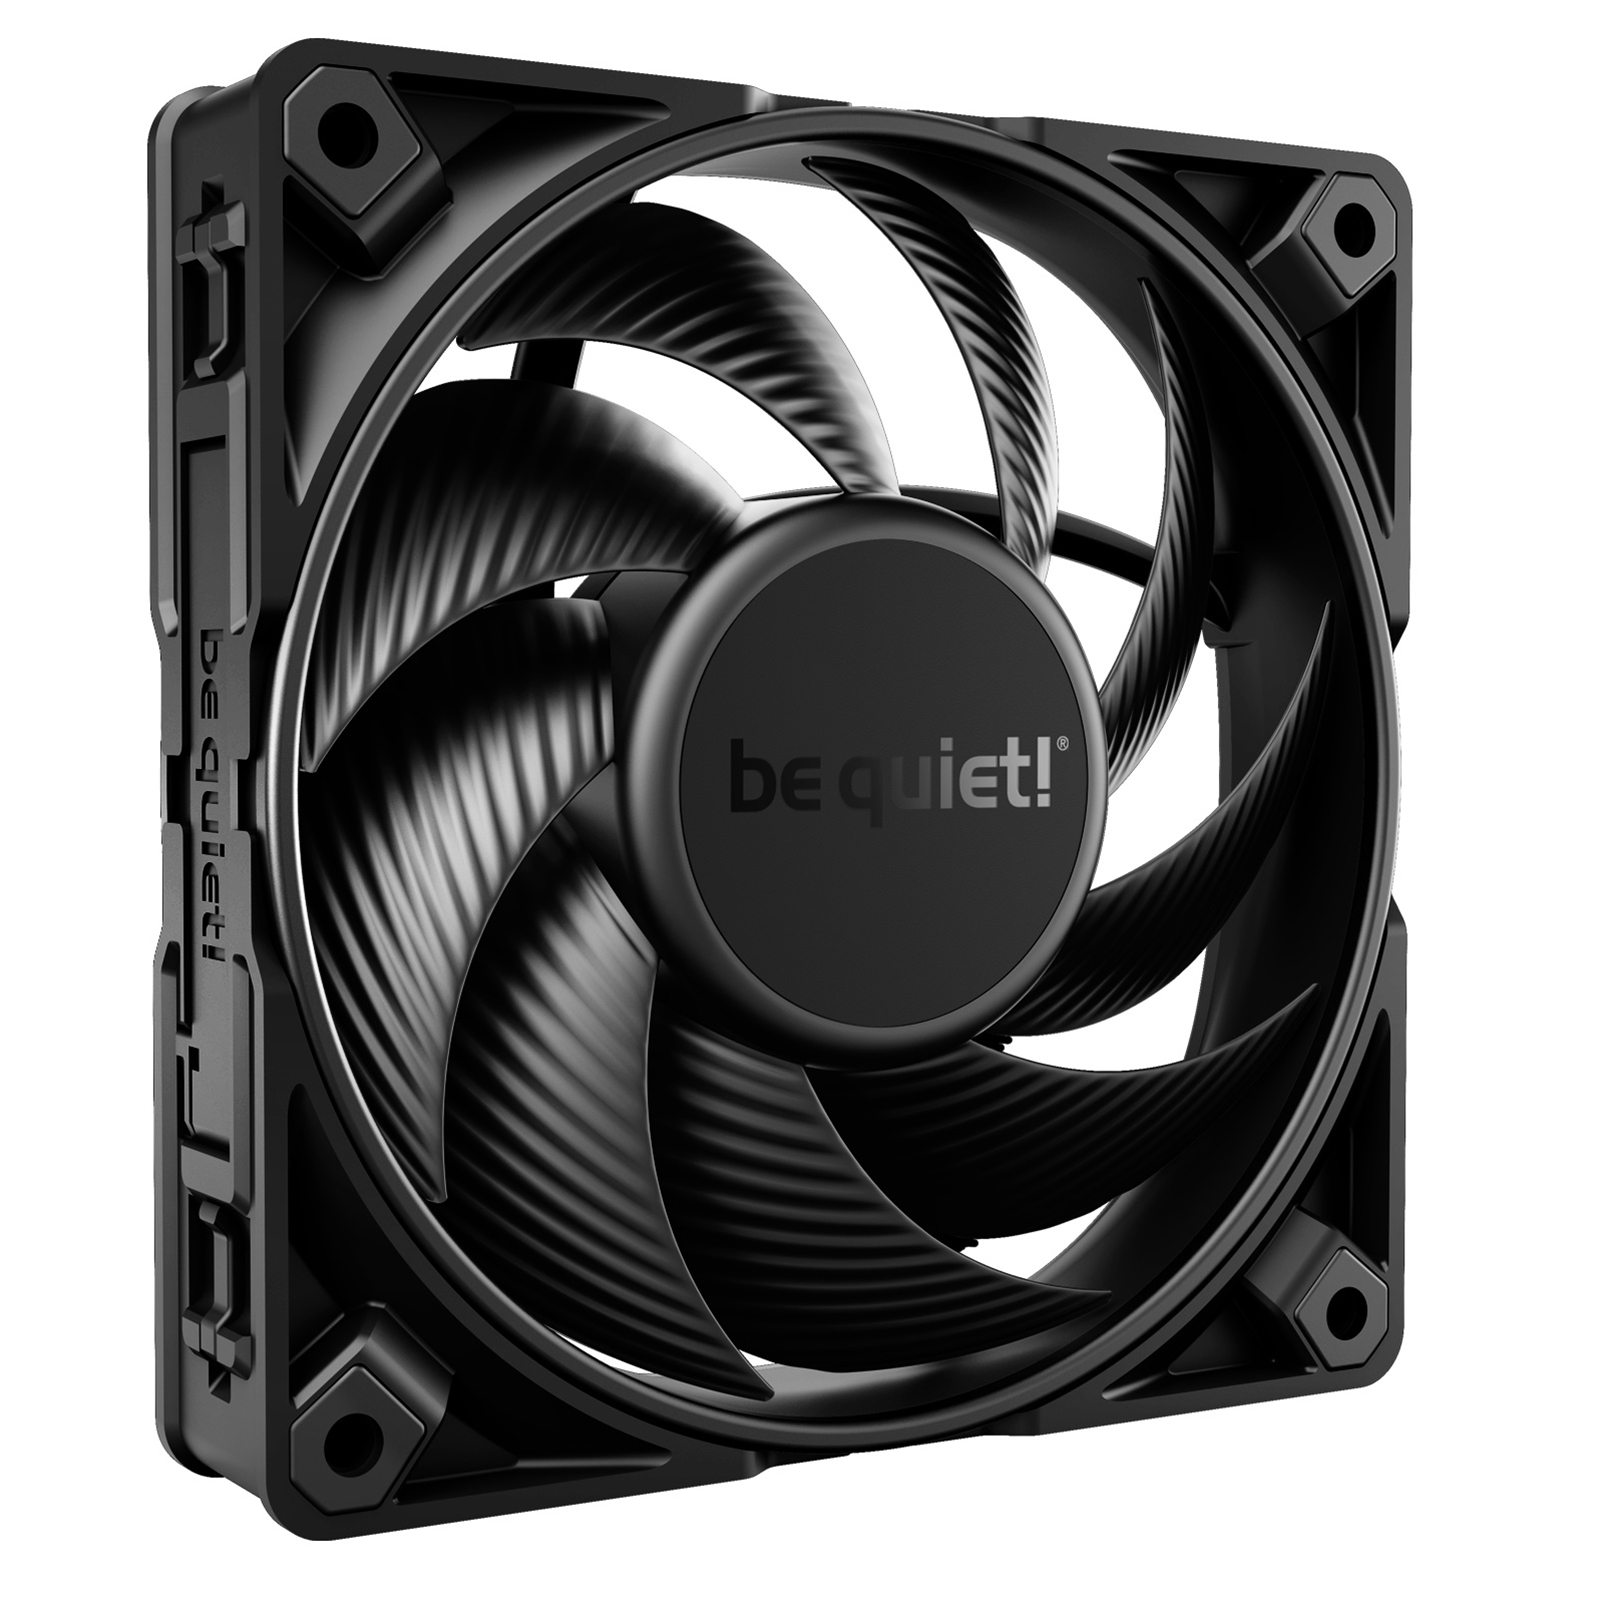
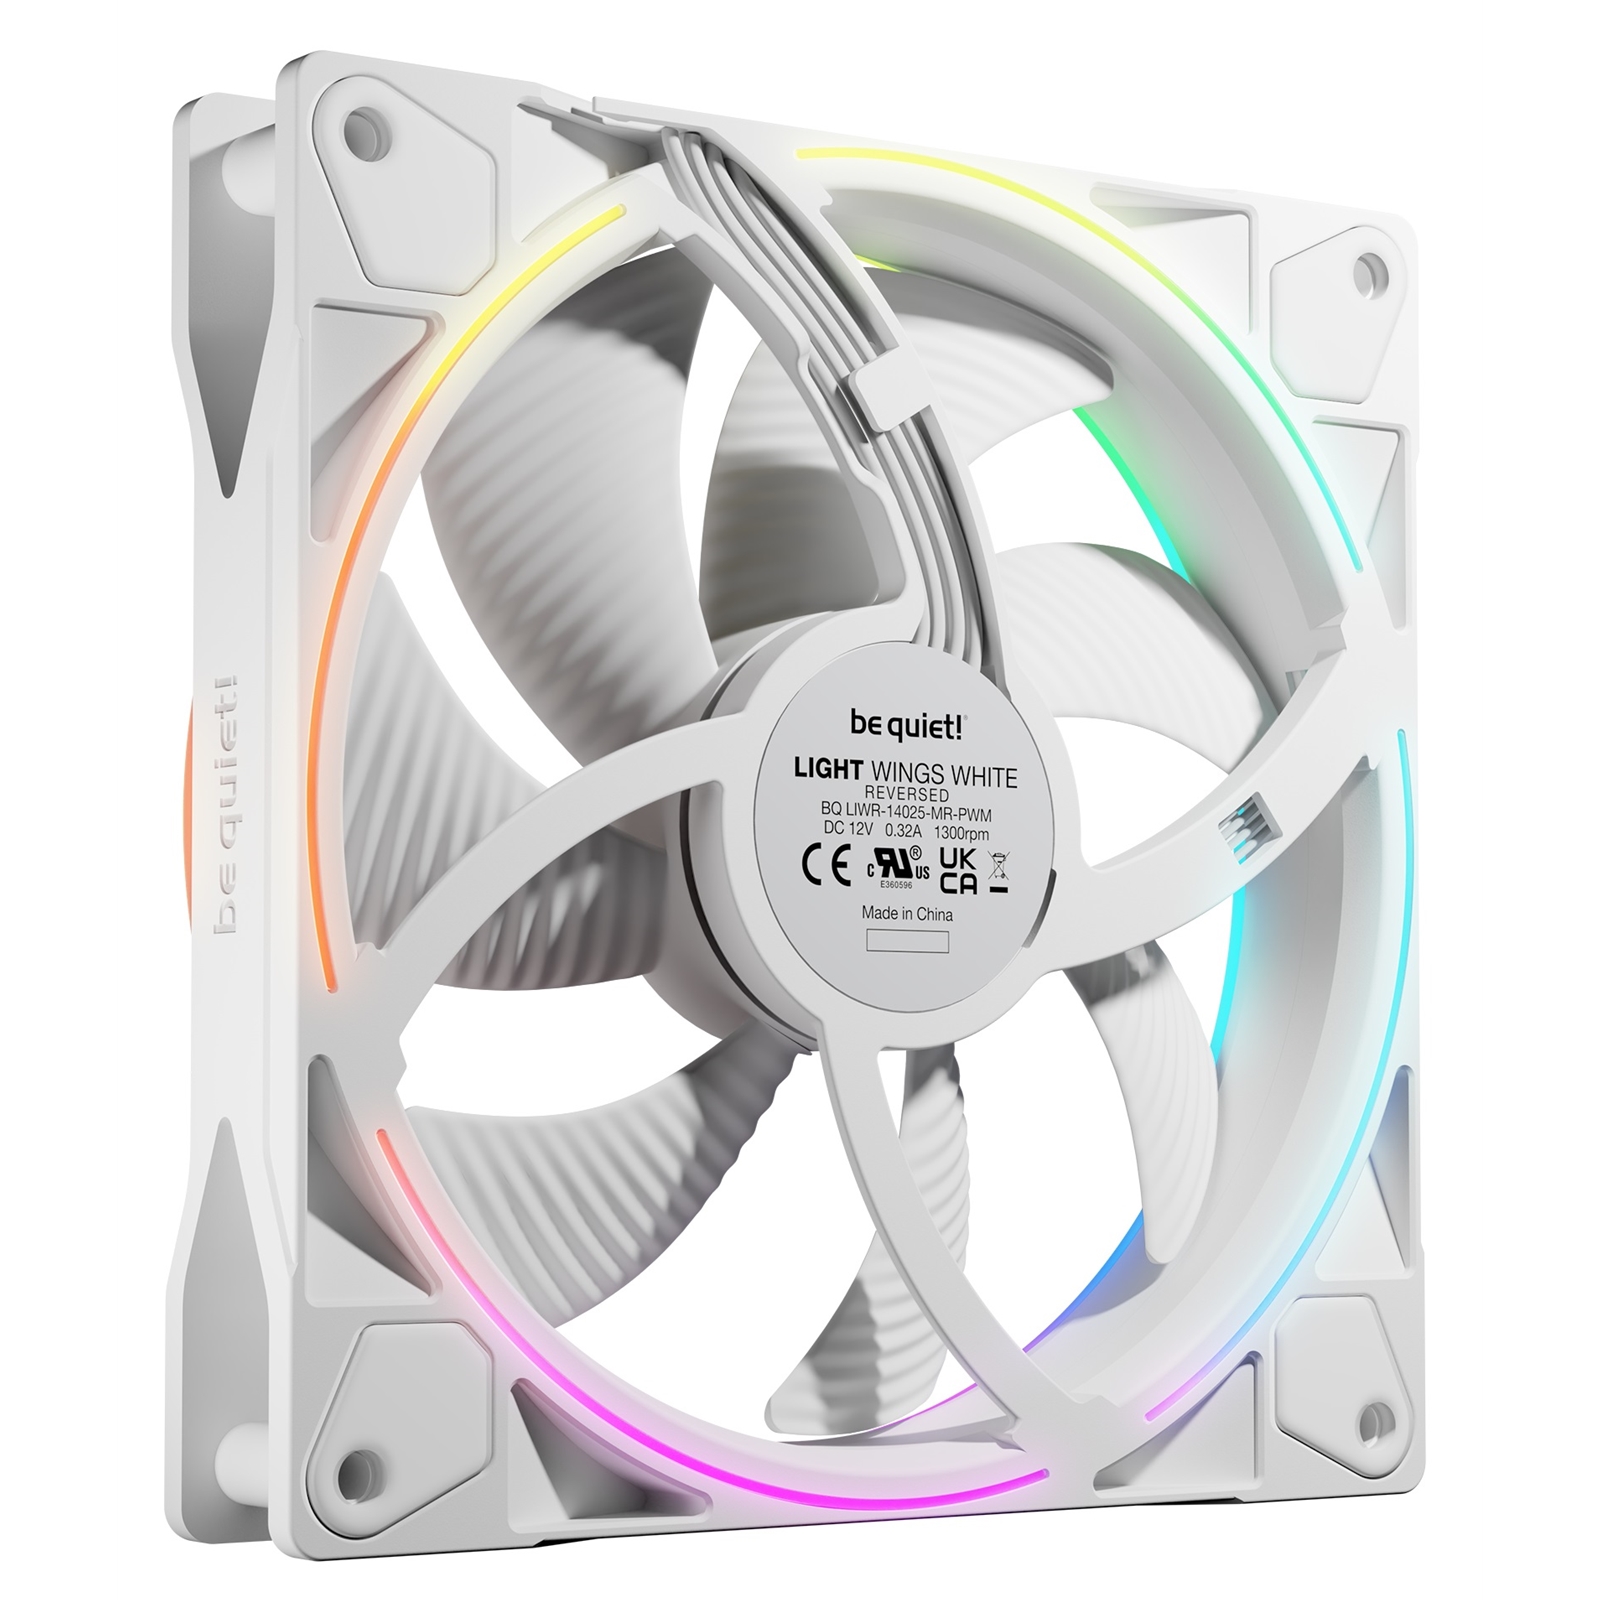
For case fans, Silent Wings 4 or Pure Wings 3 from be quiet! are consistently among the quietest options available at their price points. A typical setup would be two intake fans at the front and one or two exhaust fans at the rear and top.
If fan noise is important to you, pairing a be quiet! case with be quiet! fans and a Dark Rock or Pure Loop cooler is the most straightforward way to get a genuinely quiet machine without compromising on temperatures.


Example Builds at Various Budgets
Here are four illustrative builds at different price points. Prices are approximate UK retail and will fluctuate. These are starting points, not strict prescriptions. Many parts have suitable alternatives.
Entry-Level Build (around £600)
Aimed at solid 1080p gaming or general everyday use.
- CPU: AMD Ryzen 5 5600X or Intel Core i5-12400F (around £150 to £160)
- Motherboard: ASRock B550M-HDV (AM4, DDR4) or Gigabyte B660M DS3H DDR4 (around £80). DDR4 keeps RAM costs down.
- RAM: 16 GB DDR4-3200 (2×8 GB, around £50). Leaves room to upgrade later.
- Storage: 500 GB NVMe PCIe 3.0 SSD plus a 2 TB SATA HDD (around £90 combined)
- GPU: NVIDIA RTX 4060 8 GB or AMD Radeon RX 7600 8 GB (around £230 to £250)
- Case: be quiet! Pure Base 500 with one Silent Wings fan (around £70)
- PSU: be quiet! Pure Power 13 600 W Gold (around £80)
This build uses a DDR4 platform to stretch the budget further. It delivers confident 1080p performance in most modern games. The Pure Base 500 supports a 240 mm AIO in front if you want to upgrade cooling down the line.
Midrange Build (around £1200)
High-refresh 1080p or entry-level 1440p gaming, plus comfortable multitasking and streaming.
- CPU: AMD Ryzen 7 7700X (around £280) or Intel Core i7-13700K (around £300)
- Motherboard: MSI B650M MAG Mortar WIFI (AM5) or ASUS PRIME Z790-A DDR5 (around £160 to £180)
- RAM: 32 GB DDR5-6000 (2×16 GB, around £110)
- Storage: 1 TB NVMe PCIe 4.0 SSD plus optional 2 TB SATA SSD (around £160)
- GPU: NVIDIA RTX 4070 Ti 12 GB or AMD RX 7800 XT 16 GB (around £600 to £650)
- Case: be quiet! Dark Base 700 (around £200). Includes two 140 mm Silent Wings 3 fans and a four-step fan controller.
- PSU: be quiet! Straight Power 12 850 W Gold (around £130)
This build uses a DDR5 platform for performance and longevity. The Dark Base 700 keeps things quiet under load. There are spare RAM slots, extra M.2 slots on the Mortar board, and room for a 360 mm radiator if you ever want to add liquid cooling.
High-End Build (around £2500+)
For 4K gaming or serious professional workloads.
- CPU: AMD Ryzen 9 7950X3D (around £650) or Intel Core i9-14900K (around £600)
- CPU Cooler: be quiet! Dark Rock Pro 5 (around £90) or Pure Loop 3 360 mm AIO (around £200)
- Motherboard: ASUS ROG Crosshair X670E HERO (AM5) or MSI MEG Z890 ACE (LGA1851), around £450 to £500
- RAM: 64 GB DDR5-6000 (2×32 GB, around £220)
- Storage: 2 TB NVMe PCIe 4.0 SSD plus 2 TB SATA SSD plus a 4 TB HDD (around £320)
- GPU: NVIDIA RTX 4080 16 GB (around £1200) or RTX 4090 24 GB (around £1600)
- Case: be quiet! Dark Base Pro 901 (around £260). Supports E-ATX, includes three Silent Wings 4 fans, and has interchangeable top panels.
- PSU: be quiet! Dark Power 13 1000 W Platinum (around £300)
No compromises here. The combination of AM5 or LGA1851 with 64 GB of RAM handles anything you throw at it. The Dark Base Pro 901 provides the physical space and cooling infrastructure to support this hardware comfortably and quietly.
Workstation Build (around £4000)
Professional rendering, simulation, or compute workloads where core count and memory bandwidth are the priority.
- CPU: AMD Ryzen Threadripper Pro 5975WX (32 cores, around £2500) or a high-end consumer option like the Ryzen 9 7950X3D
- CPU Cooler: be quiet! Silent Loop 2 360 mm AIO (around £200)
- Motherboard: HEDT platform board (WRX80 or TRX40 series, around £600+)
- RAM: 128 GB DDR5 or DDR4-3200 depending on platform (around £400)
- Storage: Two 2 TB PCIe 4.0 NVMe SSDs plus additional SATA drives for bulk storage and backup
- GPU: Professional cards such as NVIDIA RTX A5000 or A6000, or consumer RTX 4090 cards for CUDA compute
- Case: be quiet! Dark Base Pro 901 (largest in the be quiet! range)
- PSU: 1600 W Platinum-rated unit, or paired PSUs for very high draw configurations
- Fans: Silent Wings Pro 4 140 mm throughout for the best balance of airflow and noise
This is a headless or compute-focused machine. Be quiet! products, particularly the Dark Base cases and Silent Wings Pro 4 fans, bring real noise reduction even to hardware running at sustained high loads.
All prices are approximate UK retail as of 2026 and will vary. Always verify component availability and double-check compatibility before purchasing. For the latest stock and pricing, check Manchester PC’s online store.
Compatibility: What to Check Before You Buy
Getting the parts right on paper is only half the job. You also need to make sure everything physically and electrically works together. Here are the most important checks.
CPU and Motherboard
The CPU socket must match the motherboard socket exactly. An AM5 CPU needs an AM5 board. An LGA1851 CPU needs an LGA1851 board. Beyond that, check the motherboard’s CPU compatibility list on the manufacturer’s website, especially for newer CPUs that may require a BIOS update before the board will recognise them.
Motherboard and RAM
Check the board’s specification for DDR version support. You cannot mix DDR4 and DDR5. Also check the maximum supported memory speed, since some boards cap XMP or EXPO profiles at certain frequencies. Install RAM in the correct slots for dual-channel operation (check the manual for the recommended slots).
GPU and Case
Measure your GPU’s length against the case’s maximum GPU clearance. High-end cards can be 320 mm or longer. The be quiet! Dark Base 700, for example, accommodates GPUs up to 400 mm, which covers almost everything available. Also consider GPU thickness if you are in a compact build.
CPU Cooler and Case
Check the case’s maximum CPU cooler height against your cooler’s dimensions. The Dark Base Pro 901 supports coolers up to 190 mm tall. The Dark Rock Pro 5 stands at around 163 mm, so it fits comfortably. If clearance is tight, an AIO liquid cooler mounted in the front or top of the case avoids the problem entirely.
PSU and Case
Standard ATX PSUs fit the vast majority of ATX mid-tower and full-tower cases. Compact cases may require an SFX form factor PSU. Always check the case specification for maximum PSU length, particularly in smaller designs.
Power Connectors
Make sure the PSU has all the connectors you need: a 24-pin motherboard connector, one or two 8-pin CPU power connectors, PCIe power connectors for the GPU (6+2 pin or 12VHPWR), SATA power for drives, and any other peripherals. The be quiet! Pure Power 13 includes five PCIe connectors, covering most single and dual GPU configurations.
Also ensure Secure Boot and TPM 2.0 are enabled in the BIOS before installing Windows 11. Almost all modern motherboards support both by default, but it is worth confirming before you start the OS installation.
Step-by-Step Assembly Guide
Once you have all your parts, clear a clean, well-lit surface and gather a Phillips-head screwdriver. Touch a grounded metal object before handling components to discharge static. An anti-static wrist strap is ideal but not essential if you are careful. Always hold circuit boards and chips by their edges, not their contacts or chips.
- Prepare the case. Remove both side panels. Lay the case on its side. Install the standoffs in the positions that match your motherboard form factor (ATX, mATX, or ITX).
- Install the CPU. Open the socket lever on the motherboard. Align the CPU with the socket indicator (a golden triangle on one corner matches a marker on the socket). Lower the CPU in gently. It should drop into place without any force. Close and lock the lever.
- Install the CPU cooler. Apply thermal paste to the CPU if the cooler does not come with it pre-applied. Attach the mounting bracket for your socket type following the cooler’s manual. Secure the cooler and connect its fan cable to the CPU_FAN header on the motherboard. If you are using a Dark Rock Pro 5 with two fans, connect both.
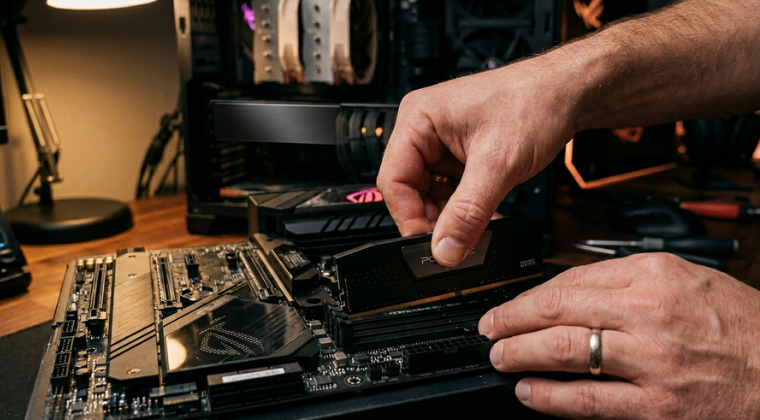
- Install RAM. Open the retention clips on the correct slots for dual-channel operation (check your motherboard manual for which slots). Press the RAM modules firmly down until the clips click into place.
- Install the M.2 SSD. Slide the drive into the M.2 slot at a slight angle, then lower it flat and secure it with the retention screw.
- Mount the motherboard in the case. Fit the rear I/O shield into the case’s back cutout if it is not integrated. Lower the motherboard onto the standoffs, line it up with the I/O shield, and screw it down.
- Install the PSU. Slide it into the PSU bay (usually at the bottom of the case). Screw it in. Make sure the fan faces a ventilated opening, typically downward toward a bottom vent.
- Install drives. Mount 2.5-inch or 3.5-inch drives in their bays using screws or tool-free trays. Run SATA cables from each drive to the motherboard’s SATA ports.
- Install the GPU. Remove the relevant PCIe slot covers from the rear of the case. Insert the GPU into the top PCIe x16 slot until it clicks. Screw the bracket to the case. Connect the PCIe power cables from the PSU.
- Connect front panel headers and fans. Plug the case’s power switch, reset switch, and LED cables into the correct front panel header pins on the motherboard (the manual shows the pinout clearly). Connect front USB and audio headers. Connect all case fans to fan headers on the motherboard or to the case’s built-in fan controller.
- Cable management. Route cables through the cutouts and behind the motherboard tray. Bundle and secure cables with zip-ties or Velcro straps. Keeping cables tidy improves airflow and makes future upgrades easier.
- Final checks. Confirm all power cables are connected (24-pin, 8-pin CPU, GPU, drives). Check fans are properly connected. Ensure no loose screws are sitting inside the case.
If the system does not post on first boot, the most common causes are the 24-pin or 8-pin power cable not fully seated, the GPU not clicked in properly, or RAM in the wrong slots. Go through each connection methodically before assuming a fault.
BIOS Setup, OS Installation, and Ongoing Maintenance
With the build assembled, there are a few important steps before your PC is truly ready to use.
First boot and BIOS
Connect your monitor, keyboard, mouse, and power cable. Switch the PSU on, then press the case power button. The system should POST and display the BIOS splash screen or land you in the UEFI interface. If nothing appears, double check that the monitor cable is plugged into the GPU’s output, not the motherboard.
Once in the BIOS, check a few key settings. Enable XMP (on Intel platforms) or EXPO (on AMD platforms) so that your RAM runs at its rated speed rather than the default lower speed. Confirm the CPU and memory are detected at the correct speeds. Set the boot order so your OS installation USB is first in the queue. Enable Secure Boot and confirm TPM 2.0 is active, both of which are required for Windows 11. Enable Above 4G Decoding if you are using a GPU with 8 GB or more of VRAM. Save and exit.
Installing Windows
Boot from your USB installer and install Windows 11 onto the NVMe SSD. Once the desktop loads, head straight to Windows Update and install all available updates. Then install chipset drivers from your motherboard manufacturer’s support page and GPU drivers from NVIDIA or AMD directly. These steps are easy to overlook but make a real difference to stability and performance.
Stress testing and temperature checks
Run a brief stress test after the initial setup. Tools like CPU-Z for a quick processor benchmark, FurMark for GPU load, or simply playing a demanding game for 20 to 30 minutes will tell you if anything is wrong. Monitor temperatures using HWMonitor or a similar tool. Idle CPU temperatures should sit around 30 to 45 degrees. Under full load, staying below 85 degrees is a reasonable target. If temperatures are higher than expected, check that the cooler is properly seated and that all fans are spinning in the correct direction.
Ongoing maintenance
- Clean dust filters and fan blades every three to six months. Dust accumulation significantly reduces cooling performance over time.
- Check for motherboard BIOS updates periodically. These often add support for newer CPUs and fix stability issues.
- Keep Windows and GPU drivers updated.
- Register your be quiet! products for warranty. PSUs carry a ten-year warranty. Cases, coolers, and fans are covered for three to five years depending on the product.
Adjusting fan curves in your BIOS or motherboard software is one of the most effective ways to reduce noise at idle. Fans running at lower speeds during everyday tasks and only ramping up under load is exactly how a well-tuned system should behave.
Future-Proofing Your Build
A good build should not need a complete overhaul in two years. Here is how to make sure yours lasts.
Choose modern standards from the start
Building on AM5 or LGA1851 with DDR5 and PCIe 5.0 means your platform is ready for the next generation of CPUs and GPUs without replacing the motherboard. Both platforms have confirmed multi-generation roadmaps, so upgrading the CPU in three or four years is a realistic option without changing anything else.
Leave expansion room
Do not fill every slot on day one. Install your RAM in two of four slots so you can double capacity later. Leave at least one M.2 slot free for a future storage upgrade. A case with multiple fan mount positions and radiator support means you can add more cooling as the build evolves.
Buy enough PSU headroom
Aim for roughly 30 percent more wattage than your current peak draw. If your current system uses about 550 W at full load, a 750 W PSU gives you room to install a more power-hungry GPU or CPU in the future without swapping the PSU. A quality modular unit like the be quiet! Straight Power 12 or Pure Power 13 makes this practical, since you can simply add the extra cables you need when the time comes.
Pick a roomy case
Cases like the be quiet! Dark Base 700 support up to seven fans and a 360 mm radiator. That means you have plenty of room to add liquid cooling or additional storage drives as your needs grow, without being forced into a new case.
Plan your upgrade order
Generally, the GPU is the first upgrade for gamers. After three to five years, the CPU becomes worth revisiting. RAM and storage can be added incrementally as needed. Having a platform that supports all of this incrementally is the whole point of future-proofing. Upgrading the GPU is simple if your PSU has the headroom and your case has the clearance. Upgrading the CPU on the same socket (for example, moving to a newer Ryzen on the same AM5 board) is straightforward. A major platform change, such as switching socket or memory type, is when you would think about a broader rebuild.
The single most impactful future-proofing decision is the PSU. A high-quality, efficient unit with enough wattage and the right connectors, including 12VHPWR for next-generation GPUs, means you can upgrade almost everything else without touching the power supply.
Troubleshooting, FAQs, and Final Thoughts
Even a carefully planned build can run into issues on first boot. Here are the most common problems and how to resolve them.
No power at all
Check the PSU rocker switch on the back of the unit is set to on. Confirm the power cable from the wall is connected. Check the case power button wires are attached to the correct front panel header pins on the motherboard.
No display output
Make sure the monitor cable is plugged into the GPU’s output port, not the motherboard’s video output. Reseat the GPU in the PCIe slot. Try a different HDMI or DisplayPort cable.
Beep codes
If your motherboard has a built-in speaker or debug LED display, beep codes or error codes can indicate missing RAM, a missing GPU, or a CPU issue. Look up the specific code in your motherboard’s manual.
RAM not detected
Try booting with a single stick of RAM in the primary slot (usually the second slot from the CPU, but check your manual). Swap to the other stick if the first does not work. This isolates a faulty module.
High temperatures
Confirm the CPU cooler is seated flat on the CPU and that thermal paste coverage is adequate. Check that case fans are oriented correctly, front fans pulling air in and rear or top fans pushing air out. Confirm all fans are spinning.
Frequently asked questions
How much RAM do I need for my first build? 16 GB is a reasonable minimum for most users. If you do video editing, streaming, or heavy multitasking, 32 GB is a safer starting point. You can always add more later if you leave empty slots on your board.
DDR4 or DDR5? If your platform supports DDR5 (AM5 or LGA1851), go for it. The speed advantage and longer platform life are worth the small extra cost. If you are on a strict budget and using an older platform like Intel LGA1700, DDR4 is still perfectly capable and noticeably cheaper.
Is liquid cooling better than air cooling? Not necessarily. A high-end air cooler like the be quiet! Dark Rock Pro 5 can match the thermal performance of a 240 mm AIO with no pump to worry about. AIOs can be a cleaner look and may fit better in some cases. For most builds, a good air cooler is entirely sufficient.
How do I know what wattage PSU to buy? Add up the TDP of your CPU and GPU, add around 100 W for the rest of the system, then add 20 to 30 percent headroom. If the total comes to around 500 W, a 650 W PSU is appropriate. For help with specific configurations, the be quiet! PSU calculator is a useful online tool.
Final thoughts
Building your first PC is one of the most satisfying things you can do as a tech enthusiast. It takes a bit of patience, but the result is a machine built exactly to your specification and needs. Take your time at each step, do not rush connections, and double-check your work as you go. If you get stuck, the community resources at Tom’s Hardware and similar forums are full of experienced builders happy to help.
At Manchester PC, we stock the full range of be quiet! components including PSUs, cases, coolers, and fans. Whether you are just starting out or upgrading an existing system, we are here to help you get it right.