Key takeaways
- In most cases, no, you should not wipe your computer before a repair. Doing so often makes a software fix impossible, and a reputable shop does not need you to.
- Always back up your important files first, though, because a repair can sometimes involve replacing or reformatting the drive.
- If you are worried about privacy, you can log out of accounts, remove sensitive files, or turn on device encryption rather than wiping everything.
- For most hardware repairs a good shop does not need your password at all, and where it does, you can create a temporary one.
- Choose a trustworthy, well-reviewed repair shop. A good one treats your data with respect and only accesses what the repair requires.
- Never wipe a machine you are bringing in for data recovery, and remember that a normal delete or factory reset is not the same as a secure erase.
- Wiping is the right move in a different situation: before selling, recycling or giving a device away, and even then a simple delete is not enough.
Should you wipe your computer or laptop before taking it in for repair? For the large majority of repairs, the answer is no, and wiping it can actually do more harm than good. If the problem is software-related, a slow machine, a virus, a Windows fault, then erasing everything first can make the problem impossible to diagnose, or remove the very thing that needed fixing. What you should always do is back up your data, and there are simple ways to protect your privacy without going to the extreme of wiping the machine. This guide explains exactly what to do, and why.
It is a question we are asked all the time at our Manchester workshop, and a fair one, because you are trusting someone with your photos, emails, banking and work. So here is honest, plain-English advice on how to prepare your computer for repair with complete peace of mind, including the small number of cases where wiping really is the right call and the cases where it would be a costly mistake.
The short answer: usually, do not wipe it
For most repairs, wiping the machine beforehand is unnecessary and often counterproductive. There are two main reasons. First, if your fault is software-related, the technician needs to see the actual problem to fix it. Wipe the machine and you may erase the fault (making it look fine when it is not) or remove the settings, programmes and data that the repair was meant to preserve. Second, a wipe destroys your own files and setup, which is a lot of work to restore for no real benefit when a trustworthy shop simply does not need it.
A good repair only touches what it needs to. When you bring us a laptop with a cracked screen, a failing battery or a charging fault, we have no reason to go through your photos or emails, and we do not. The hardware is the job. So in the normal course of things, leave the machine as it is and follow the sensible precautions below instead.
Why wiping can sabotage a software repair
This is the part people underestimate. A huge share of the work that comes through a repair shop is not a broken part at all, it is software: a machine that has become painfully slow, a Windows update that will not install, a startup loop, a suspected virus, a corrupt user profile, or files that have vanished. In every one of those cases the fault lives inside your installation of Windows or macOS. Wipe the drive and you have deleted the evidence.
Take a slow laptop as an example. As our guide to why a laptop runs slow explains, the cause is often specific: too many startup programmes, a failing hard drive, an overheating fault, or malware quietly using your processor. A technician finds that by looking at the running system. Reset to factory and the symptom vanishes for a day or two, then comes straight back, because the underlying cause was never addressed. The same is true of random crashes and restarts, where the clues sit in Windows logs that a wipe destroys.
Virus and malware jobs are an even clearer case. For our virus removal service we want the infection present so we can identify it, see what it touched, and confirm it is gone, all while saving your files. Wipe first and you may lose documents that could have been cleaned and kept. In short, if your problem is anything other than obviously physical, leave the software alone and let the person fixing it actually see it.
What you should always do: back up first
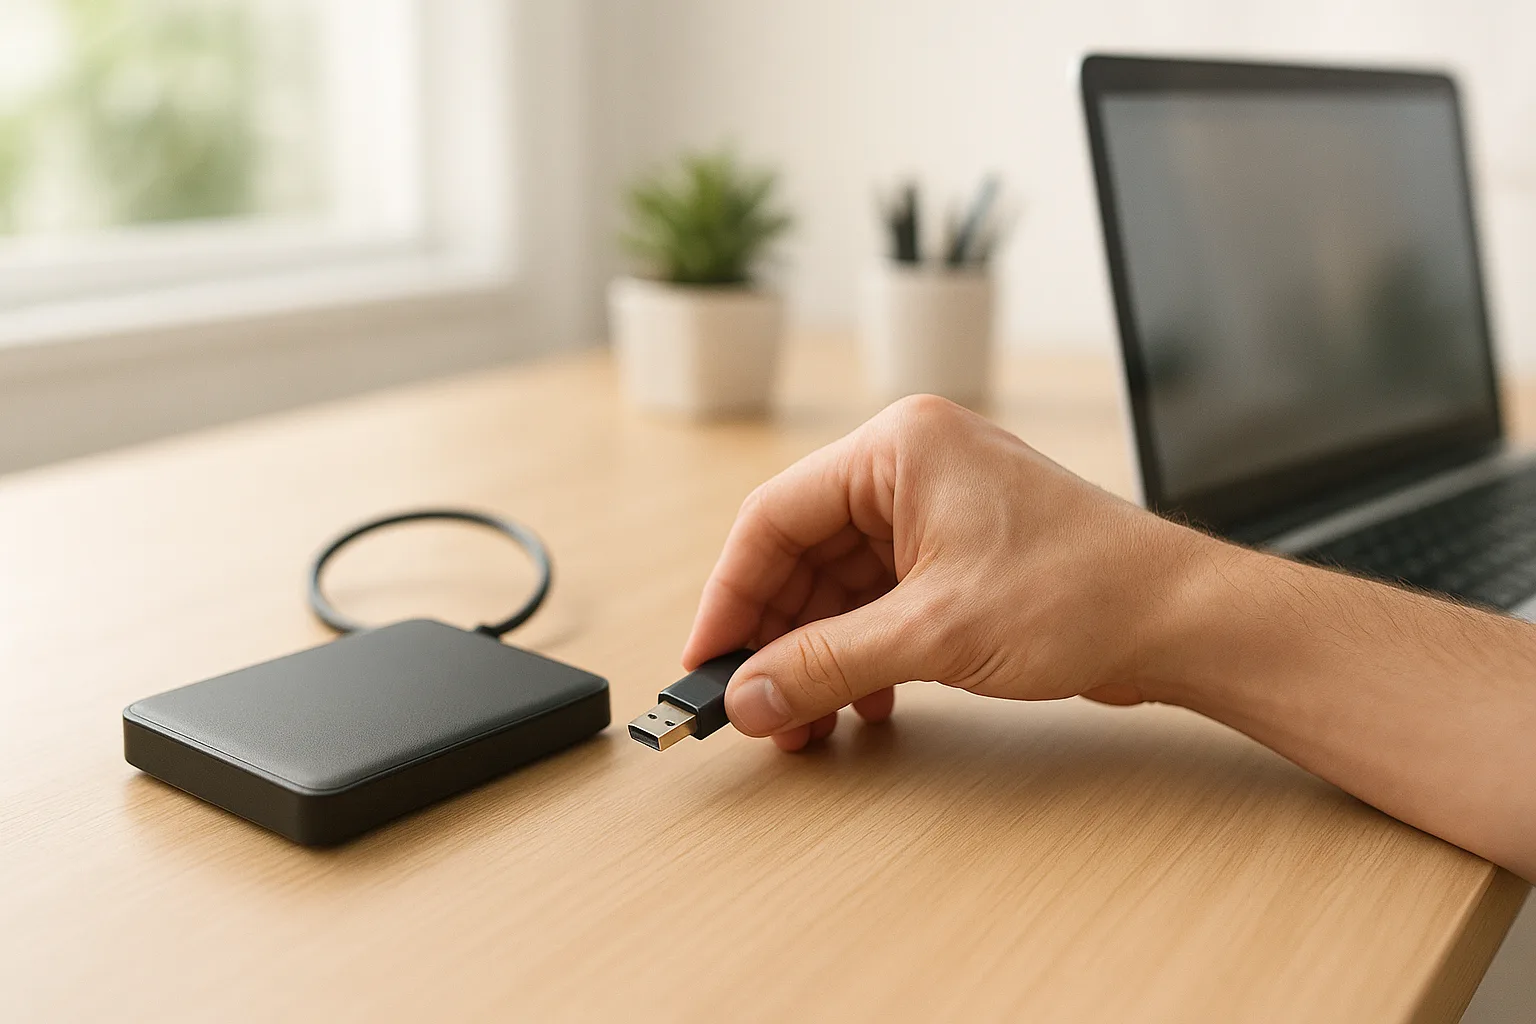
This is the one step we recommend to everyone, every time: back up your important data before any repair. The reason is simple. While most repairs leave your data untouched, some involve replacing or reformatting the storage drive, for example if the drive itself has failed, or a serious software problem requires a clean reinstall of Windows. In those cases, data on the drive can be lost. It is no coincidence that Apple's own advice on how to get your Mac ready for service leads with backing up, noting that a backup matters in case it becomes necessary to erase or replace the startup disk during the repair.
So before handing the machine over, copy your important files to an external drive or a cloud service, as our guide to backing up your data describes, and as our computer backup service can set up for you. The UK's National Cyber Security Centre gives the same advice, recommending you back up your most important data to the cloud or removable media, then disconnect that media when not in use so it cannot be caught by ransomware. A good shop will warn you if a repair risks your data, but your own backup means you are protected whatever happens. And if your machine has already failed with no backup, our data recovery service can often retrieve the files first.
How to back up before a repair, step by step
If you have never done a proper backup, it is more straightforward than it sounds. The golden rule the professionals use is the 3-2-1 approach: keep three copies of anything you cannot bear to lose, on two different types of storage, with one copy somewhere separate (the cloud counts). For a quick pre-repair backup, two copies in two places is plenty. Here is how on the two main systems.
On Windows 10 or Windows 11:
- Plug in an external hard drive or a large USB stick. Open your user folder and copy across Documents, Pictures, Desktop, Videos and Music. This is the most important step, because it gives you a copy that does not depend on the internet.
- Turn on cloud backup as a second copy. Microsoft's own Windows Backup tool can save your Desktop, Documents, Pictures, Videos and Music folders, plus many settings, to OneDrive (a free account includes 5GB).
- Do not assume OneDrive has already done it. If your cloud storage filled up, syncing may have quietly stopped months ago, so always check your local user folder is actually backed up before a reset.
- Remember the things that are not files: browser bookmarks, saved passwords, email stored only on the device, and software licence keys.
On a Mac:
- Use Time Machine with an external drive for a complete backup, copy your key folders manually, or sync to iCloud.
- Turn off Find My Mac before a repair, because Activation Lock can stop a technician from testing the machine.
Once your backup is done, open it and check a few files actually open. A backup you have never tested is only half a backup. If any of this feels daunting, we are happy to back the machine up safely for you as part of the job.
Why a reputable repairer does not need your password
One of the biggest worries people have is the password. The good news is that for most repairs, a good shop does not need it at all. A screen, a battery, a charging port, a keyboard, a fan clean and fresh thermal paste, a memory or SSD upgrade: none of these require signing into your account. The technician tests the hardware at a level that sits underneath your login, so your personal desktop stays locked away.
A password only helps when the fault shows up inside Windows or macOS, for example a glitch that appears after you sign in, or a fix confirmed by using the machine normally. Even then, you have options. Apple's own support community advice for Macs points people towards a separate account rather than handing over their main login, and the same idea works on Windows. You can:
- Create a temporary local account (or a guest account) for the technician to use, so your main profile and files are never opened.
- Or change your password to something temporary before the repair, then change it back the moment the machine is returned.
- Never share your Apple ID, Microsoft account or email password. Those control your whole digital life and a hardware repair never needs them. A genuine technician will never ask for them.
If a shop insists on your main account password for an obviously physical repair, or asks for an online account password, treat that as a warning sign and ask why. A trustworthy repairer will be able to explain exactly what level of access the job needs, and will be glad you asked.
How to protect your privacy without wiping
If your concern is privacy rather than data loss, which is completely understandable, you do not need to wipe the whole machine. There are gentler ways to protect sensitive information while still letting the repair go ahead:
- Log out of your accounts. Sign out of email, cloud storage, banking and social media, so they are not accessible while the machine is being worked on.
- Move sensitive files temporarily. Copy private documents or photos to an external drive and remove them from the machine until it is back. (Keep that copy safe, it is now your only copy.)
- Turn on device encryption. Windows includes BitLocker and Device Encryption, which scramble your drive so the data cannot be read without your sign-in. Microsoft's guide to device encryption shows how, and our article on working securely covers it too.
- Use a temporary password if asked. Many repairs need to start Windows to test the fix. If you would rather not share your main password, set up a temporary one and change it back once the machine is returned.
These steps give you real privacy protection while still allowing the technician to do their job, which is the balance most people are looking for. They take a few minutes and they leave the machine fully repairable.
How encryption actually protects your data
Encryption is the most underrated privacy tool most people already own, and it changes the whole conversation about wiping. When a drive is encrypted, the data on it is scrambled into unreadable nonsense, and the only way to turn it back into readable files is the key, unlocked by your sign-in. Without that key, even someone who removes the drive and plugs it into another machine sees gibberish, not your photos.
On Windows, this is BitLocker (on Pro, Enterprise and Education editions) or its automatic sibling Device Encryption, which is available on many home machines and often switches on when you set up the PC with a Microsoft account. On a Mac, the equivalent is FileVault, and modern Macs are hardware-encrypted by default. The upshot: if your drive is encrypted and you do not hand over your password, your data is genuinely protected during a hardware repair, far more effectively than a panicked wipe, and without destroying anything.
Two things to keep in mind. First, save your recovery key somewhere safe before any repair, because if the technician restarts the machine repeatedly, encryption can ask for it. Second, encryption protects data at rest, meaning while the machine is off or locked. It does not protect data once you are signed in and the drive is unlocked, which is exactly why logging out and using a temporary or guest account still matters.
Choose a repair shop you can trust
The most important safeguard of all is who you hand your device to. The reason wiping even comes up is that, sadly, there have been cases of unscrupulous shops snooping through customer files. The answer is not to cripple your own machine, but to choose a repairer you can trust in the first place. The good news is that a trustworthy shop is not hard to spot if you know what to look for.
- Genuine reviews and a track record. Look for an established business with a real history and reviews you can read, not a pop-up operation. Word of mouth across Manchester counts for a lot.
- A clear privacy policy and data handling. A good shop will tell you, without being asked, what it will and will not access, and how your machine is stored while in for repair.
- DBS-checked, vetted staff. Reputable UK repairers vet the people who handle your device. A DBS check (from the government's Disclosure and Barring Service) is a recognised way for an employer to confirm staff are suitable for roles that involve sensitive or confidential information.
- Willingness to explain. If you ask what the repair involves and whether it could touch your data, you should get a straight answer, not a brush-off.
We treat every customer's data as we would want our own treated: with respect, confidentiality and a clear explanation of what a repair involves. You can read more about us and how we work, and we are always happy to talk through your concerns before you book anything in. If anything about a repairer makes you uneasy, that is reason enough to take your business elsewhere.
Your data and the law: where UK GDPR comes in
It helps to know you are not relying on goodwill alone. In the UK, anyone who handles personal data has duties under the UK GDPR and the Data Protection Act 2018, overseen by the Information Commissioner's Office (the ICO). A repair business that has your machine is expected to keep your data secure, use it only for the purpose you brought it in for, and not keep it longer than needed.
For you as a customer, that means a reputable shop should be registered with the ICO, should have a privacy policy explaining how it handles your information, and should be able to tell you what happens to your data while the machine is with them. It is a perfectly reasonable question to ask, and the answer tells you a lot. The law does not make a repair risk-free on its own, but a professional repairer has a clear legal incentive, on top of a moral one, to treat your files properly. Combined with your own precautions, it tilts the odds firmly in your favour.
The repairs where you should never wipe: data recovery
There is one category of repair where wiping, or even running a routine reset, is the worst thing you can possibly do: when the reason you are bringing the machine in is to get your files back. If a drive has failed, files have been deleted, a laptop will not boot, or you have been hit by ransomware, the data may still be sitting on the disk waiting to be rescued, but every extra write to that drive can overwrite it for good.
So if you have lost data, stop using the machine, do not run a factory reset, do not try repeated repair installs, and do not attempt a wipe to start fresh. Power it down and bring it to us. Our data recovery service works precisely because deleted and lost files often linger on a drive long after they appear to be gone, the very thing that makes a sloppy wipe dangerous when you are selling a device is what gives us a fighting chance to recover yours. The earlier you stop and the sooner you bring it in, the better the odds.
The one time you should wipe: selling, recycling or giving it away
There is a situation where wiping is absolutely the right thing to do, and it is a different one: when you are getting rid of a device, by selling it, trading it in, recycling or donating it. Here you genuinely do want all your personal data gone, and this is where many people slip up.
The key point, highlighted by the ICO, is that simply deleting your files and emptying the recycle bin is not enough, because deleted data can often still be recovered with the right software. The ICO has warned that millions of UK adults do not know how to remove their data from an old device, and that a fair few find it too difficult and so leave personal information on devices they pass on. That is a real risk: a stranger could recover your photos, documents, saved passwords and accounts from a device you thought was empty.
To erase a device properly before parting with it, back up anything you want to keep, sign out of and deauthorise your accounts (Microsoft, Apple, Google and any others), then use the built-in reset combined with the encryption or secure-erase options, as guides like Consumer Reports' wiping guide explain. If you are unsure, we can securely wipe a device for you before you sell or recycle it, so none of your data can be retrieved.
Sign out, factory reset, secure erase: what each really does
Part of the confusion around wiping is that several very different actions get lumped together under the word "wipe". They are not the same, and the difference matters enormously when your goal is to make data unrecoverable. Here is what each one actually does.
| Action | What it does | Is your data recoverable afterwards? | When to use it |
|---|---|---|---|
| Sign out / deauthorise accounts | Removes account access from the device. Your files stay exactly where they are. | Yes, fully. Nothing is erased. | Before a repair, for privacy, alongside other steps. |
| Delete files and empty recycle bin | Removes the pointer to the files. The actual data stays on the disk until overwritten. | Yes, often easily, with free recovery tools. | Never rely on this for getting rid of a device. |
| Factory reset / reinstall | Reinstalls the operating system and removes your apps and files from view. | Sometimes. A basic reset can leave recoverable data unless the secure or "clean the drive" option is used. | Fixing software, or as a first step before selling (with the secure option on). |
| Secure erase / encrypt then reset | Resets the drive's memory cells (SSD) or overwrites the data (HDD), or throws away the encryption key so the data is unreadable. | No. This is the method that makes data genuinely unrecoverable. | Before selling, recycling or donating a device. |
The takeaway is that signing out is for privacy during a repair and changes nothing on the disk, while a true secure erase is for permanently parting with a device. A factory reset sits in the middle and is only as thorough as the option you choose. If your real aim is making sure nobody can ever read your data, you want the bottom row, not the second.
Why SSDs and hard drives need different wiping methods
If you do need to erase a drive for good, the type of drive matters, because the two kinds store data in completely different ways. A traditional hard drive (HDD) is a spinning magnetic platter, and the classic way to wipe it is to overwrite every sector with random data. A solid-state drive (SSD), the storage in nearly every modern laptop, is flash memory chips, and it spreads data around internally in a way that old overwrite tools cannot reliably reach. Worse, hammering an SSD with repeated overwrites wears it out for no benefit.
The right approach for an SSD is its built-in ATA Secure Erase command, which resets the memory cells to empty in one go, or simply relying on encryption: if the drive was encrypted, throwing away the key makes everything on it unreadable instantly. This is why "just overwrite it a few times", advice that made sense for hard drives years ago, is the wrong tool for a modern SSD. If you are unsure what is inside your machine or how to erase it correctly, this is exactly the sort of thing we can do for you properly.
Common mistakes people make
Over the years we have seen the same avoidable slip-ups again and again. Steer clear of these and you are in good shape:
- Wiping a machine that came in for data recovery. The single most expensive mistake. If you want files back, do not reset or reinstall, just stop and bring it in.
- Assuming the cloud has everything. Cloud sync stops silently when storage fills up. Always check, and keep a local copy too.
- Confusing delete with erase. Selling a device after only deleting files leaves your data recoverable. Use a proper secure erase.
- Handing over an online account password. A hardware repair never needs your Apple ID, Microsoft or email password. Use a local or temporary account instead.
- Not saving the recovery key. If encryption asks for the BitLocker or FileVault key during a repair and you do not have it, you can be locked out of your own data.
A quick checklist before you bring it in
To summarise, here is what to do before handing your computer or laptop over for repair:
- Do back up your important files to an external drive and, ideally, the cloud as well.
- Do log out of sensitive accounts, and consider turning on encryption.
- Do remove any especially private files if you wish, keeping a copy elsewhere.
- Do save your BitLocker or FileVault recovery key somewhere safe.
- Do choose a reputable, well-reviewed, vetted repairer and ask about their data handling.
- Do not share online account passwords; use a temporary or guest login if a password is needed at all.
- Do not wipe the machine for a normal repair, as it usually hinders the fix and is unnecessary with a trustworthy shop, and never wipe a machine you want files recovered from.
Follow that and you get the best of both worlds: a repair that goes smoothly, and your data kept safe and private throughout. If you would like the full picture, our repair FAQ answers many of the other questions people ask before booking a job in.
How Manchester PC handles your data
When you bring a machine to us, your privacy is part of the service. We only access what a repair genuinely requires, we never go through personal files, and we are always happy to explain exactly what a particular repair involves and whether it could affect your data. If a fix does risk your files, we will tell you first and help you back them up, and we can recover data from a failed drive or securely wipe a device you are retiring.
We cover Manchester and the surrounding areas with free local collection and return, honest advice and genuine reviews from real customers. Whether it is a laptop, a desktop computer repair, a Mac repair, or you suspect a virus or malware issue, get a free, no-obligation quote or call us on 0161 820 1992, and hand your device over with confidence.